
Introduction
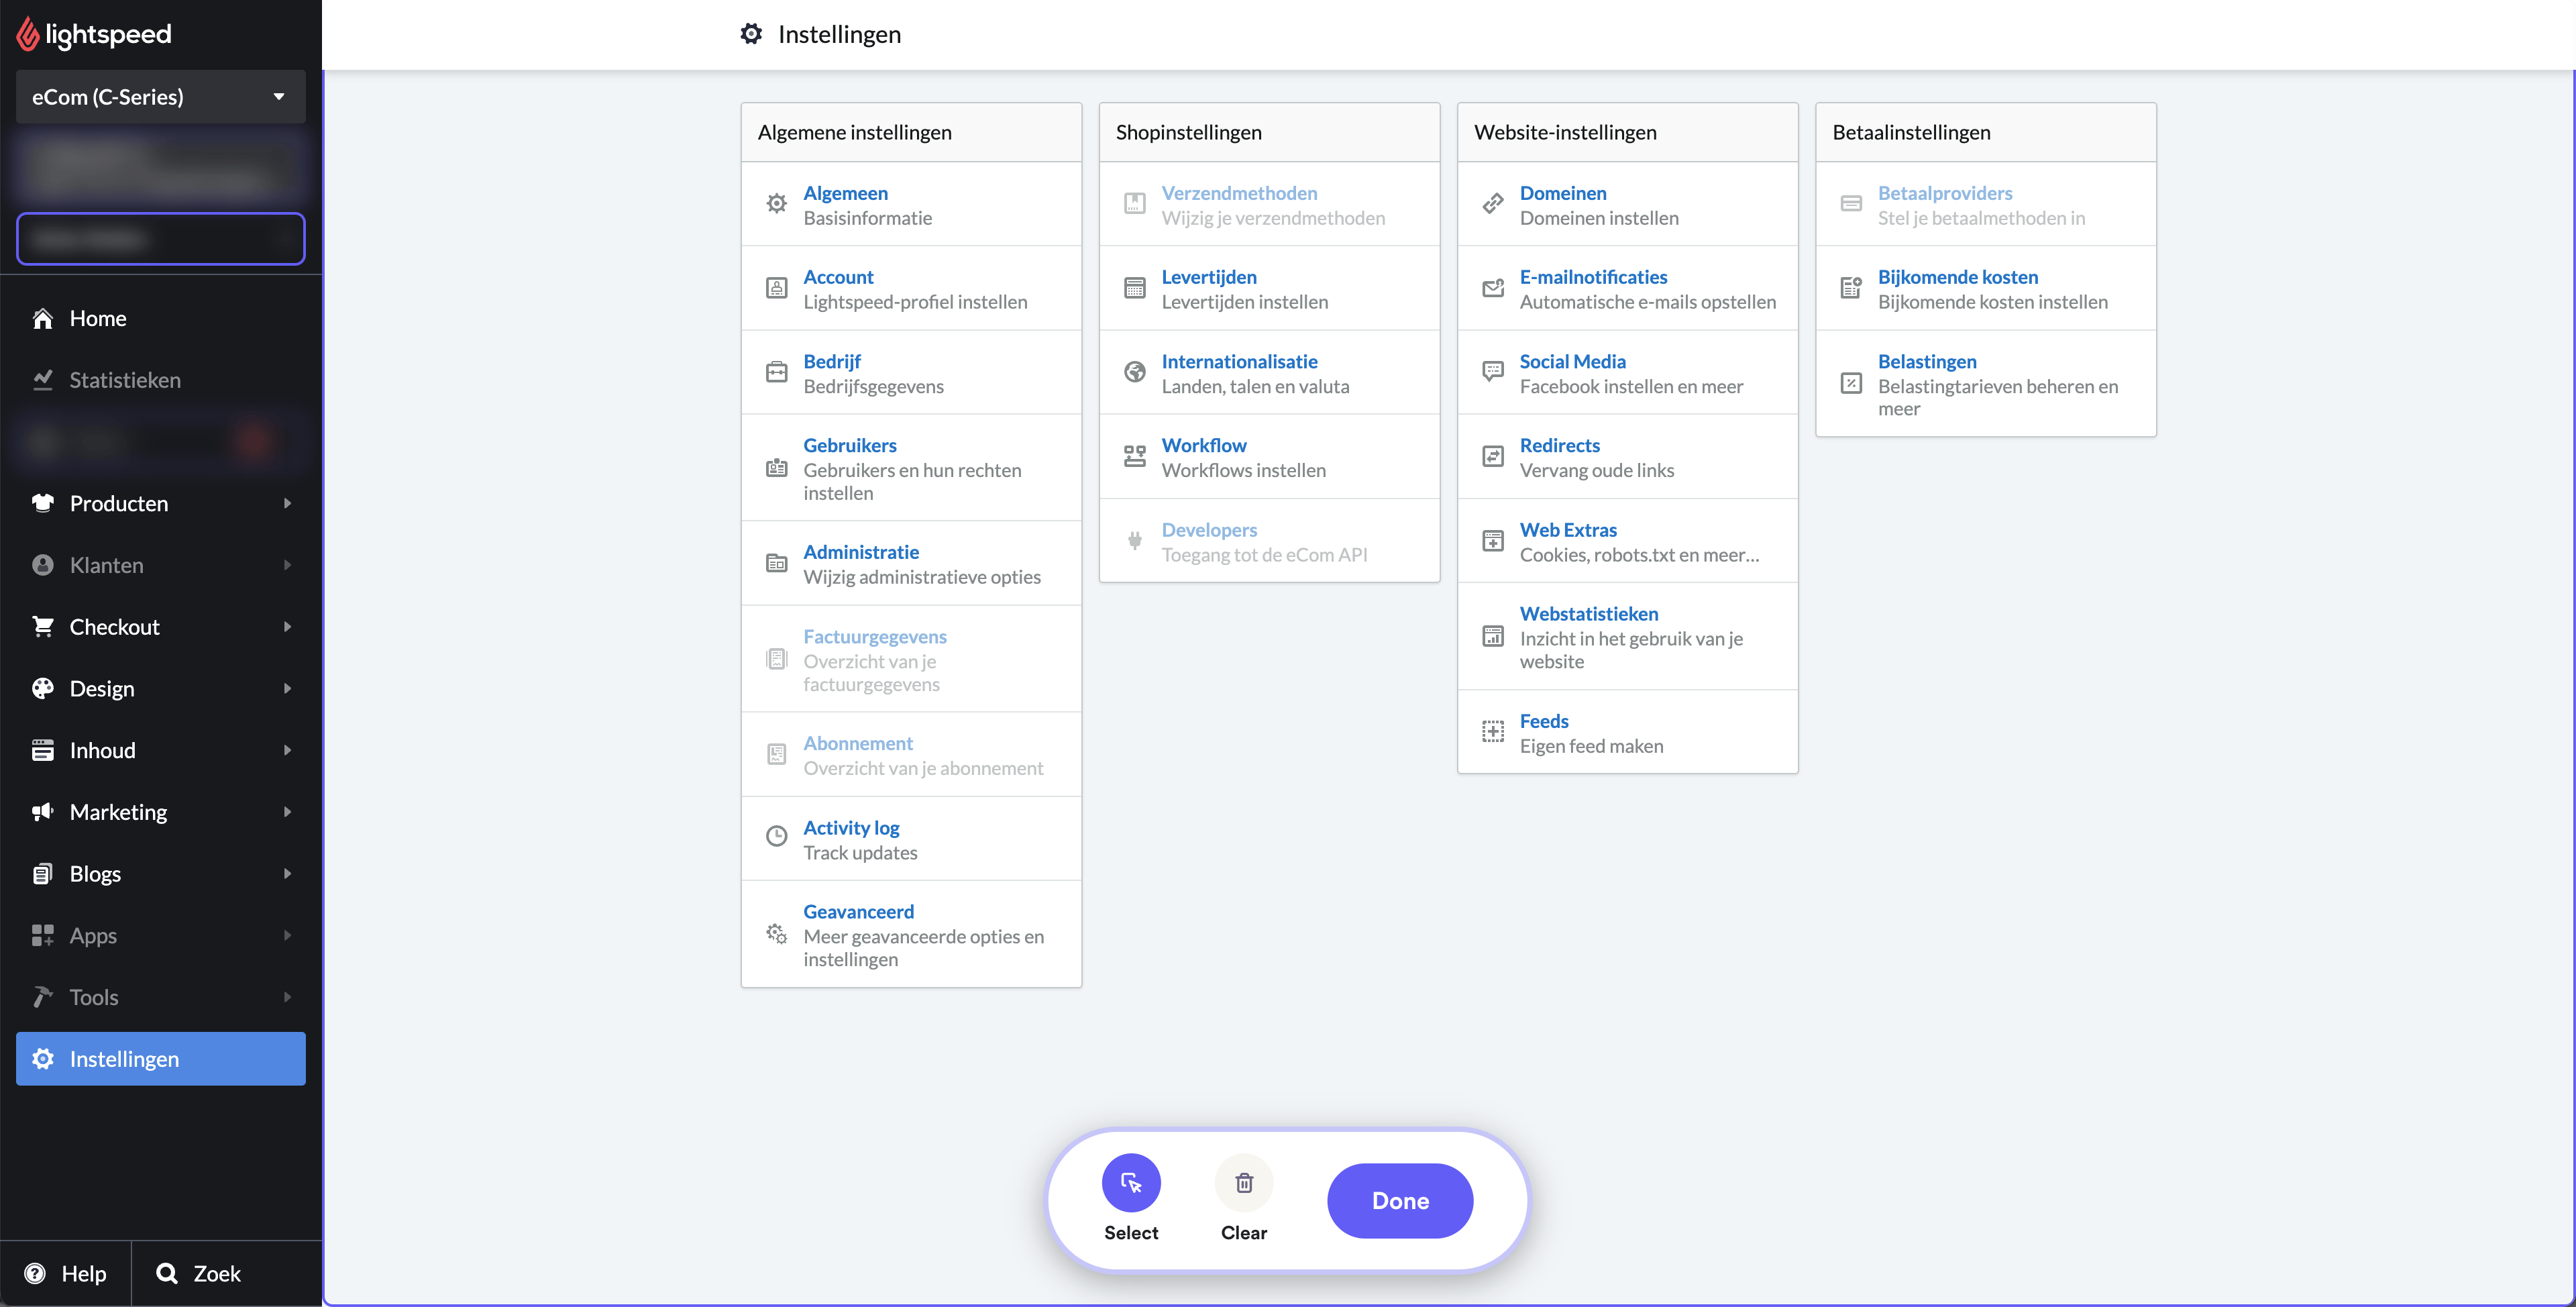
Les utilisateurs doivent d’abord authentifier leurs identifiants en se connectant à leur compte Lightspeed. Une fois la connexion réussie, ils doivent accéder à l’option « Paramètres », généralement située sur le tableau de bord principal ou dans un menu déroulant.
Une fois dans « Settings », ils doivent sélectionner « Web Extras », une sous-catégorie qui permet d’accéder à des fonctionnalités de personnalisation supplémentaires. Dans « Web Extras », il existe deux sections importantes : « Custom JavaScript » et « Tracking ».
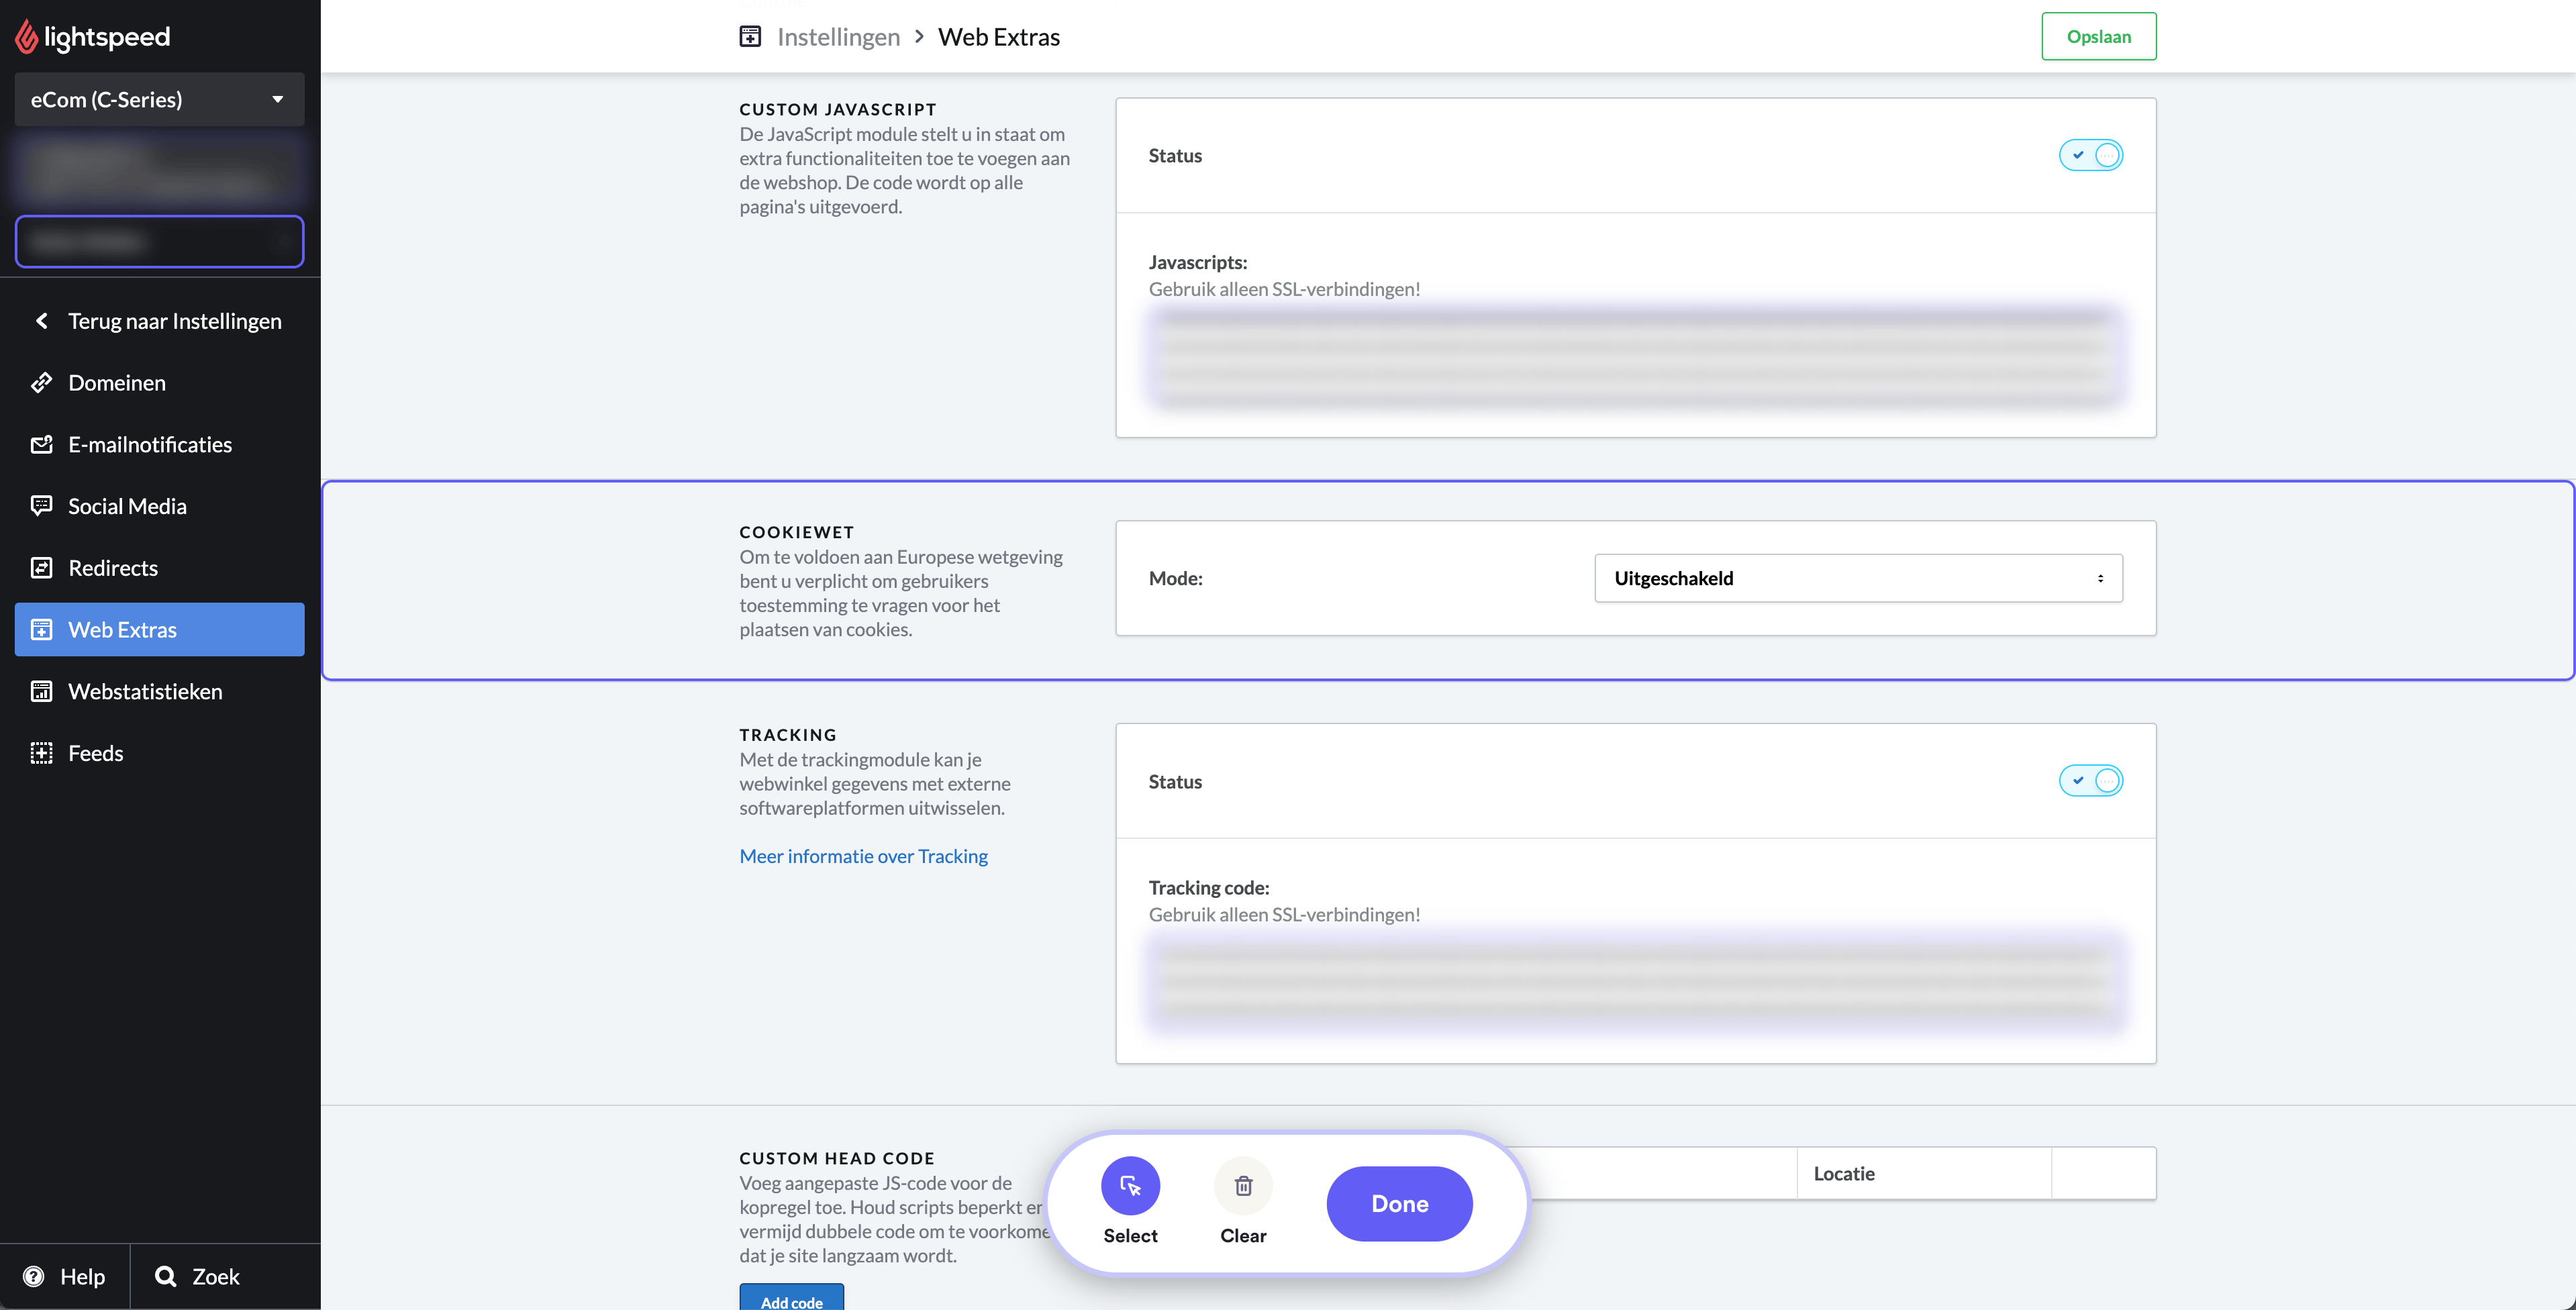
Dans la section « Custom JavaScript », les utilisateurs doivent copier et coller le code ci-dessous. N’oubliez pas de remplacer le champ YOUR_SHOPARIZE_PARTNER_SHOPID par votre véritable identifiant de boutique
                          <script src="https://partner-cdn.shoparize.com/js/shoparize.js" defer="defer"></script>

<script>
       window.addEventListener('load', function () {
            SHOPARIZE_API().init(YOUR_SHOPARIZE_PARTNER_SHOPID);
        });
</script>
De même, sous « Tracking », les utilisateurs doivent copier-coller le bloc de code ci-dessous pour le pixel de suivi. Cet emplacement spécifique permet au pixel de suivi de collecter les données nécessaires à des fins d’analytique. N’oubliez pas de remplacer le champ YOUR_SHOPARIZE_PARTNER_SHOPID par l’identifiant réel de votre boutique.
                          <script>
  window.dataLayerShoparize = window.dataLayerShoparize || [];
  dataLayerShoparize.push({
    event: "purchase",
    ecommerce: {
      transaction_id: "{{ order.information.number }}",
      value: {{ order.information.price_incl | number_format(2, '.', '') }},
      tax: {{ order.information.price_tax | number_format(2, '.', '') }},
      shipping: {{ order.information.shipping_price | number_format(2, '.', '') }},
      currency: "{{ order.information.currency | upper }}",
      items: [
         {% for product in order.products %}{
             item_id: "{{ product.product_id }}",
             item_name: "{{ product.title }}",
             currency: "{{ order.information.currency | upper }}",
             price: {{ product.base_price_incl | number_format(2, '.', '') }},
             quantity: {{ product.quantity }}
         }{% if not loop.last %},{% endif %}
      {% endfor %}
    ]
  }
});
window.addEventListener('load', function () {
     SHOPARIZE_API().conv(YOUR_SHOPARIZE_PARTNER_SHOPID);
});
</script>
Une fois ces étapes terminées, n’oubliez pas d’enregistrer toutes les modifications afin de garantir la bonne mise en place des scripts et du pixel de suivi.
