
Introduction
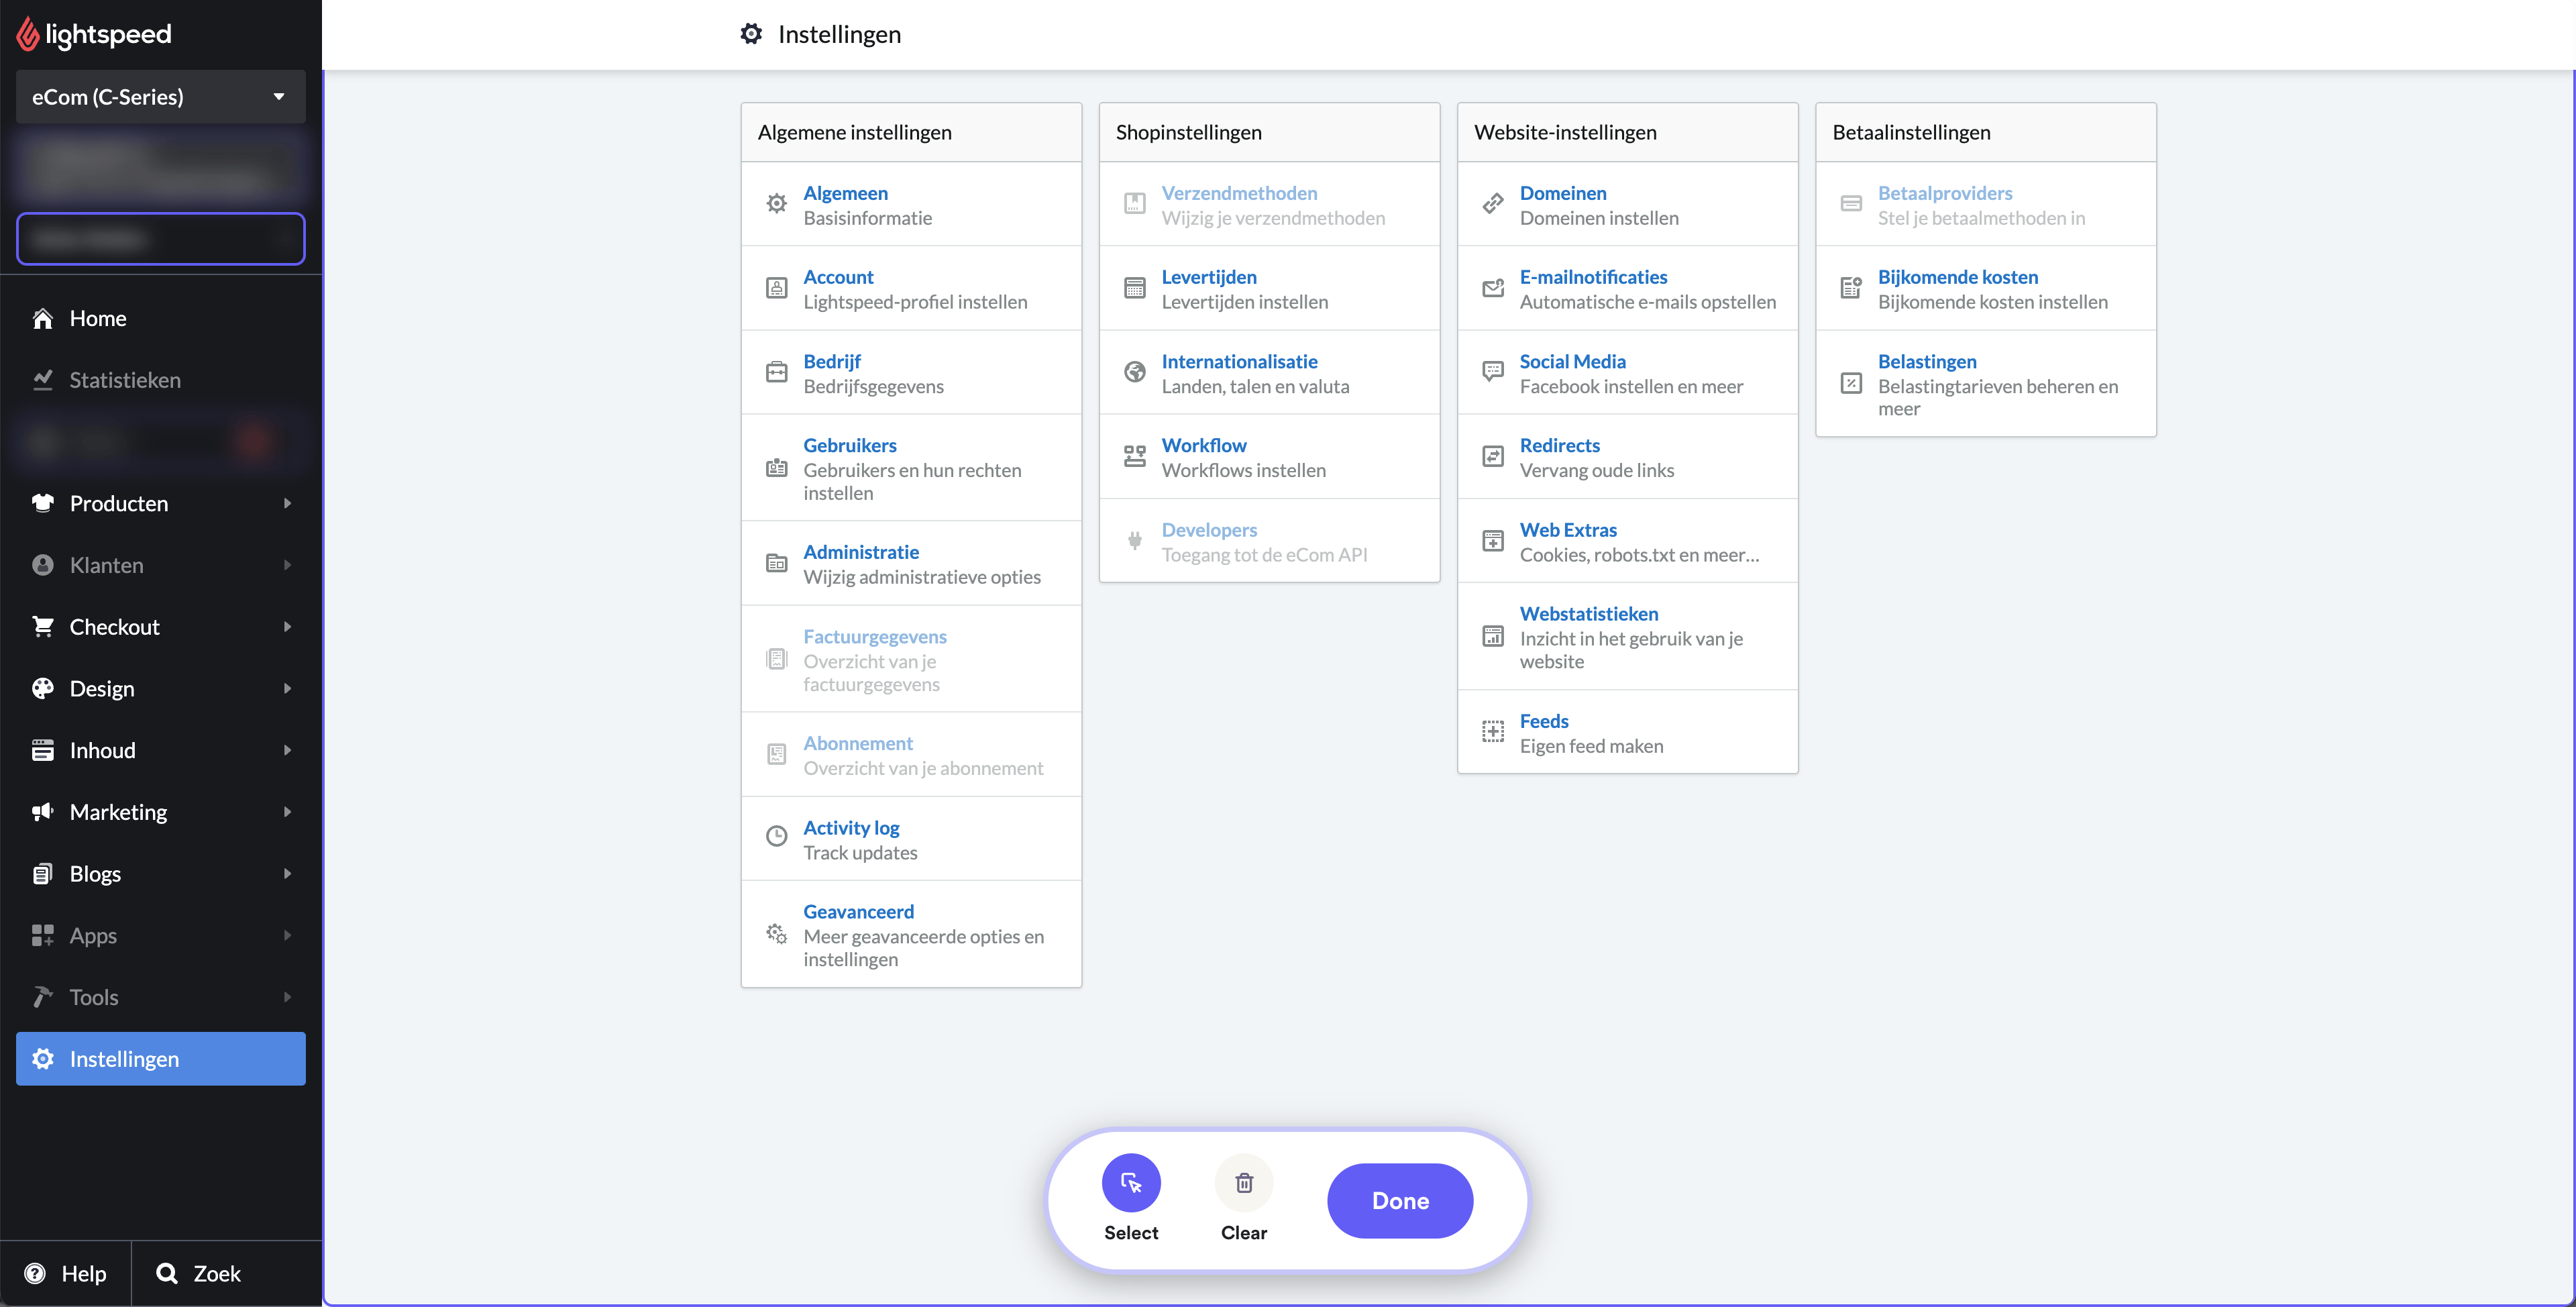
Los usuarios deben primero autenticar sus credenciales iniciando sesión en su cuenta de Lightspeed. Una vez que hayan iniciado sesión correctamente, deben ir a la opción «Settings», que normalmente se encuentra en el panel principal o dentro de un menú desplegable.
Una vez en «Settings», deben seleccionar «Web Extras», una subcategoría que facilita funciones adicionales de personalización. Dentro de «Web Extras» hay dos secciones importantes: «Custom JavaScript» y «Tracking».
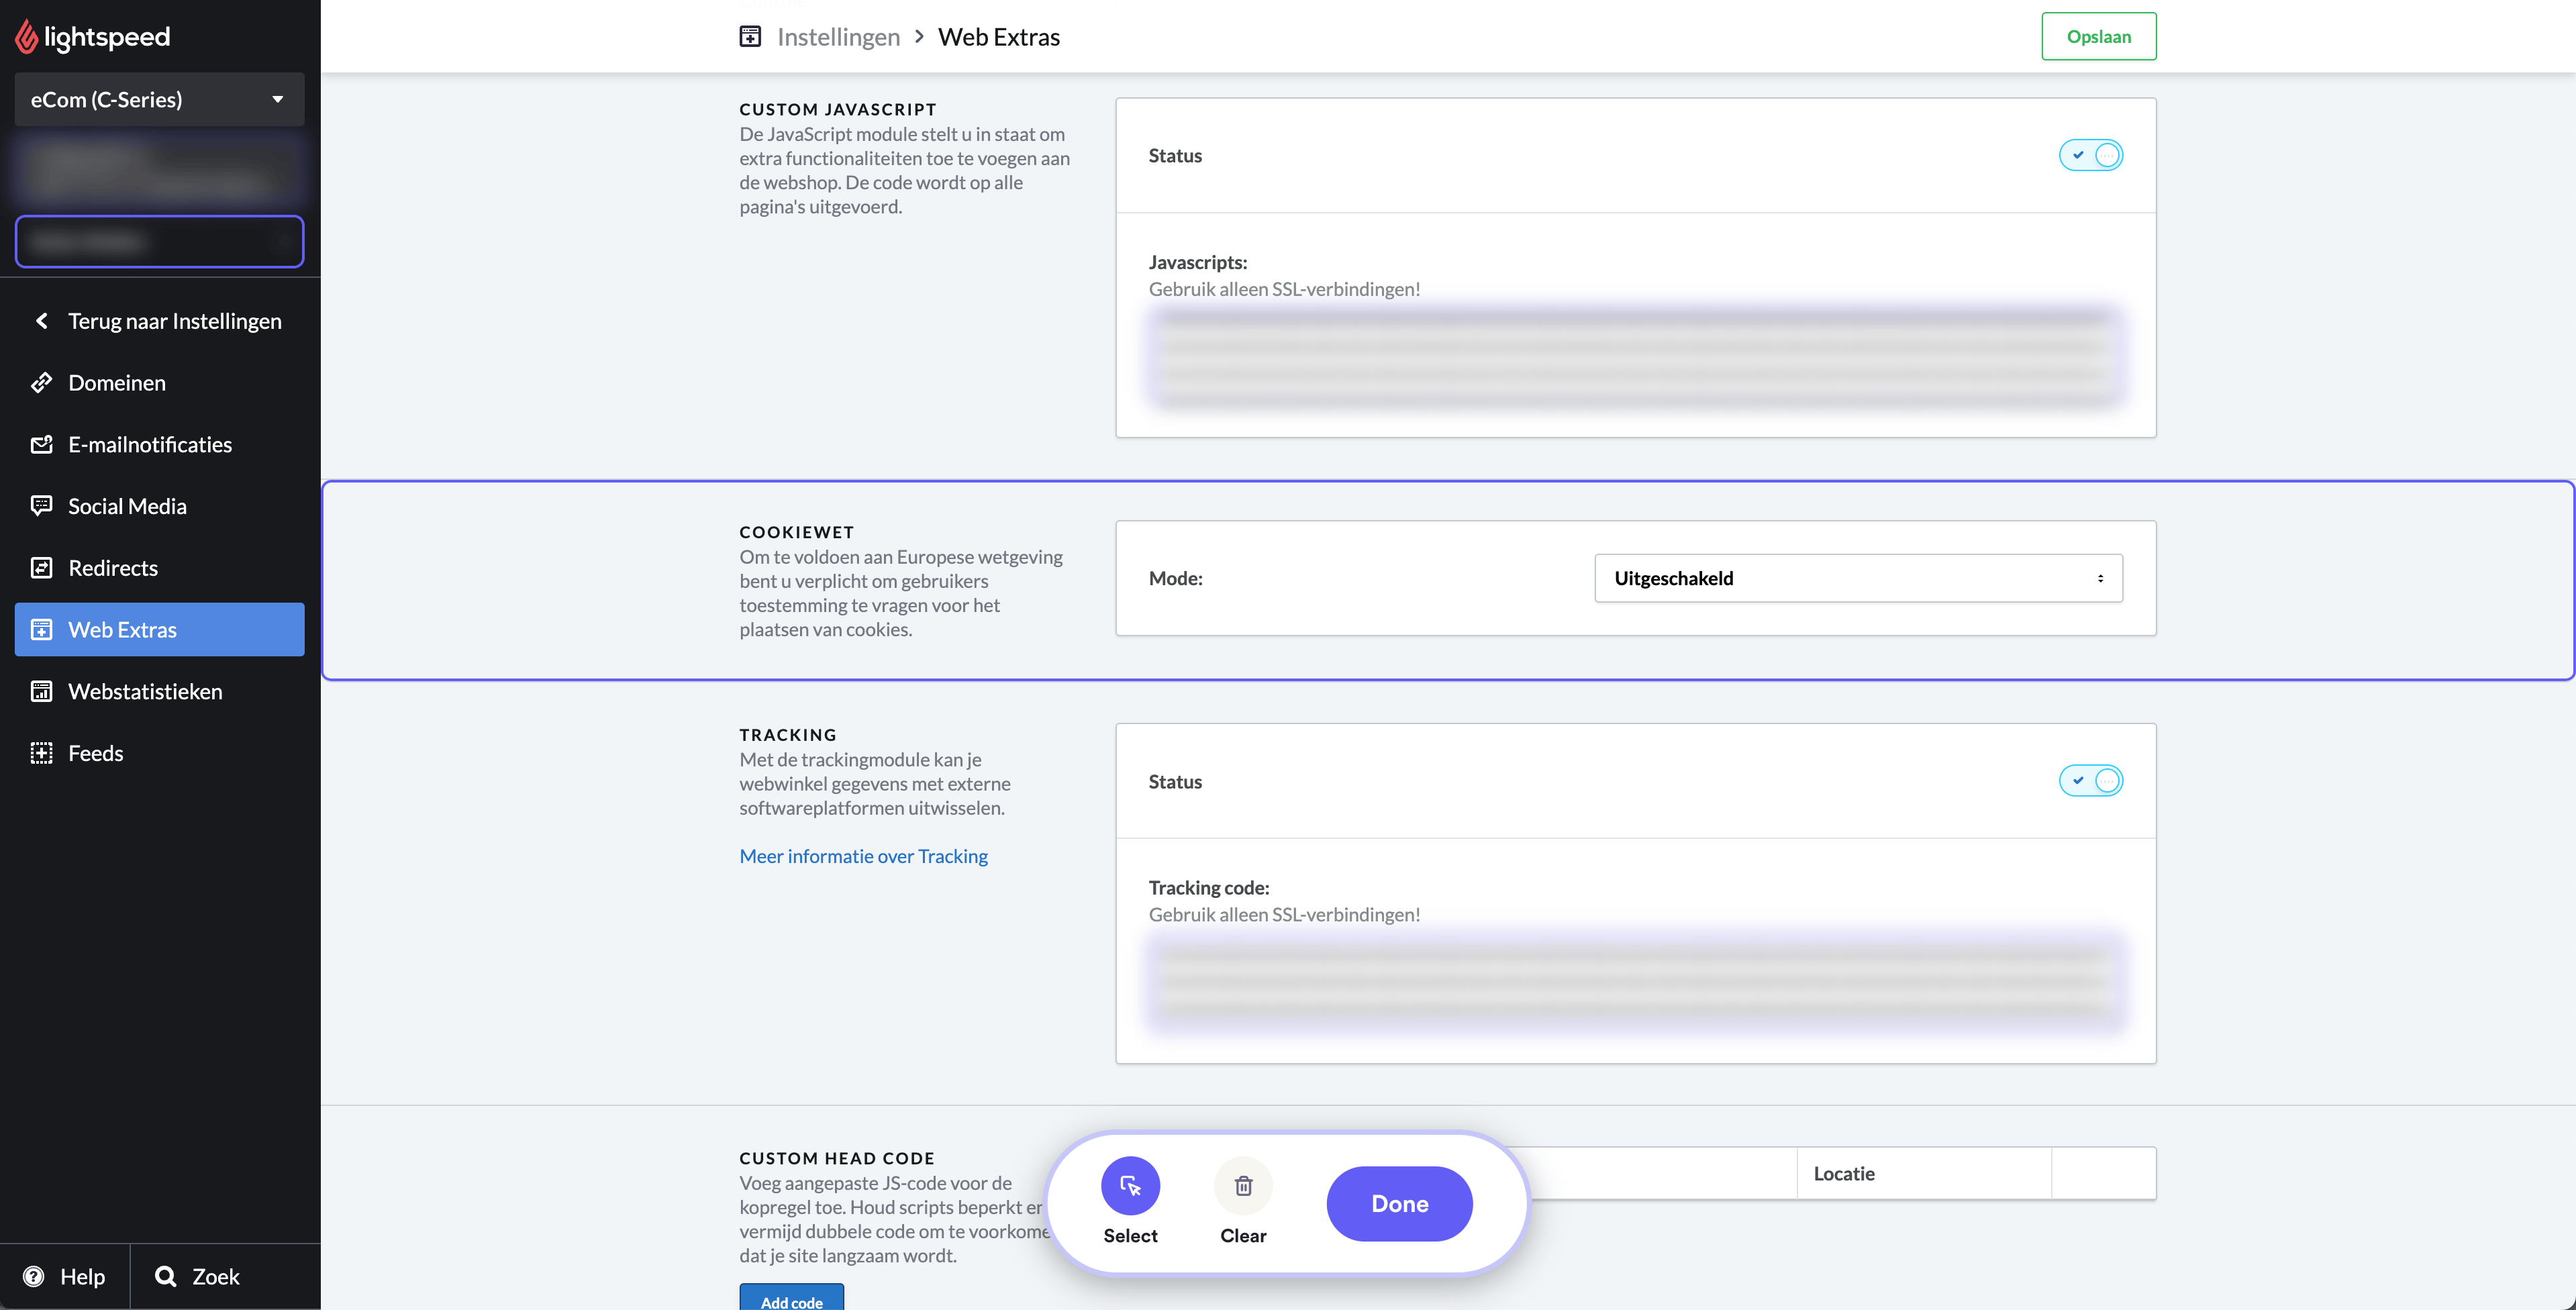
En la sección ‘Custom JavaScript’, se espera que los usuarios copien y peguen el código que aparece a continuación. No olvides cambiar el campo YOUR_SHOPARIZE_PARTNER_SHOPID por el ID real de tu tienda
                          <script src="https://partner-cdn.shoparize.com/js/shoparize.js" defer="defer"></script>

<script>
       window.addEventListener('load', function () {
            SHOPARIZE_API().init(YOUR_SHOPARIZE_PARTNER_SHOPID);
        });
</script>
Del mismo modo, en ‘Tracking’, los usuarios deben copiar y pegar el bloque de código que aparece a continuación para el píxel de seguimiento. Esta ubicación específica permite que el píxel de seguimiento capture los datos necesarios para fines de analítica. No olvides cambiar el campo YOUR_SHOPARIZE_PARTNER_SHOPID por el ID real de tu tienda
                          <script>
  window.dataLayerShoparize = window.dataLayerShoparize || [];
  dataLayerShoparize.push({
    event: "purchase",
    ecommerce: {
      transaction_id: "{{ order.information.number }}",
      value: {{ order.information.price_incl | number_format(2, '.', '') }},
      tax: {{ order.information.price_tax | number_format(2, '.', '') }},
      shipping: {{ order.information.shipping_price | number_format(2, '.', '') }},
      currency: "{{ order.information.currency | upper }}",
      items: [
         {% for product in order.products %}{
             item_id: "{{ product.product_id }}",
             item_name: "{{ product.title }}",
             currency: "{{ order.information.currency | upper }}",
             price: {{ product.base_price_incl | number_format(2, '.', '') }},
             quantity: {{ product.quantity }}
         }{% if not loop.last %},{% endif %}
      {% endfor %}
    ]
  }
});
window.addEventListener('load', function () {
     SHOPARIZE_API().conv(YOUR_SHOPARIZE_PARTNER_SHOPID);
});
</script>
Una vez completados estos pasos, recuerda guardar los cambios realizados para asegurarte de que los scripts y el píxel de seguimiento se implementen correctamente.
